
DIY Composite Decking Tiles – Easy Installation for Any Space
Renovating your outdoor space doesn’t need to mean complicated building or a hefty price tag. If you need a speedy, fashion-forward, and low-maintenance solution to refresh patios, balconies, or rooftops, DIY composite decking tiles fit the bill. These easy-to-install, flexible tiles provide anyone pro DIYers to DIY newbies the means to spruce up an outdoor space in no time. With Interlocking Deck Tiles, decking tiles, composite decking tiles, and wooden decking tiles among their styles, finishes, and available materials, the choice is limitless.
What Are Composite Decking Tiles?
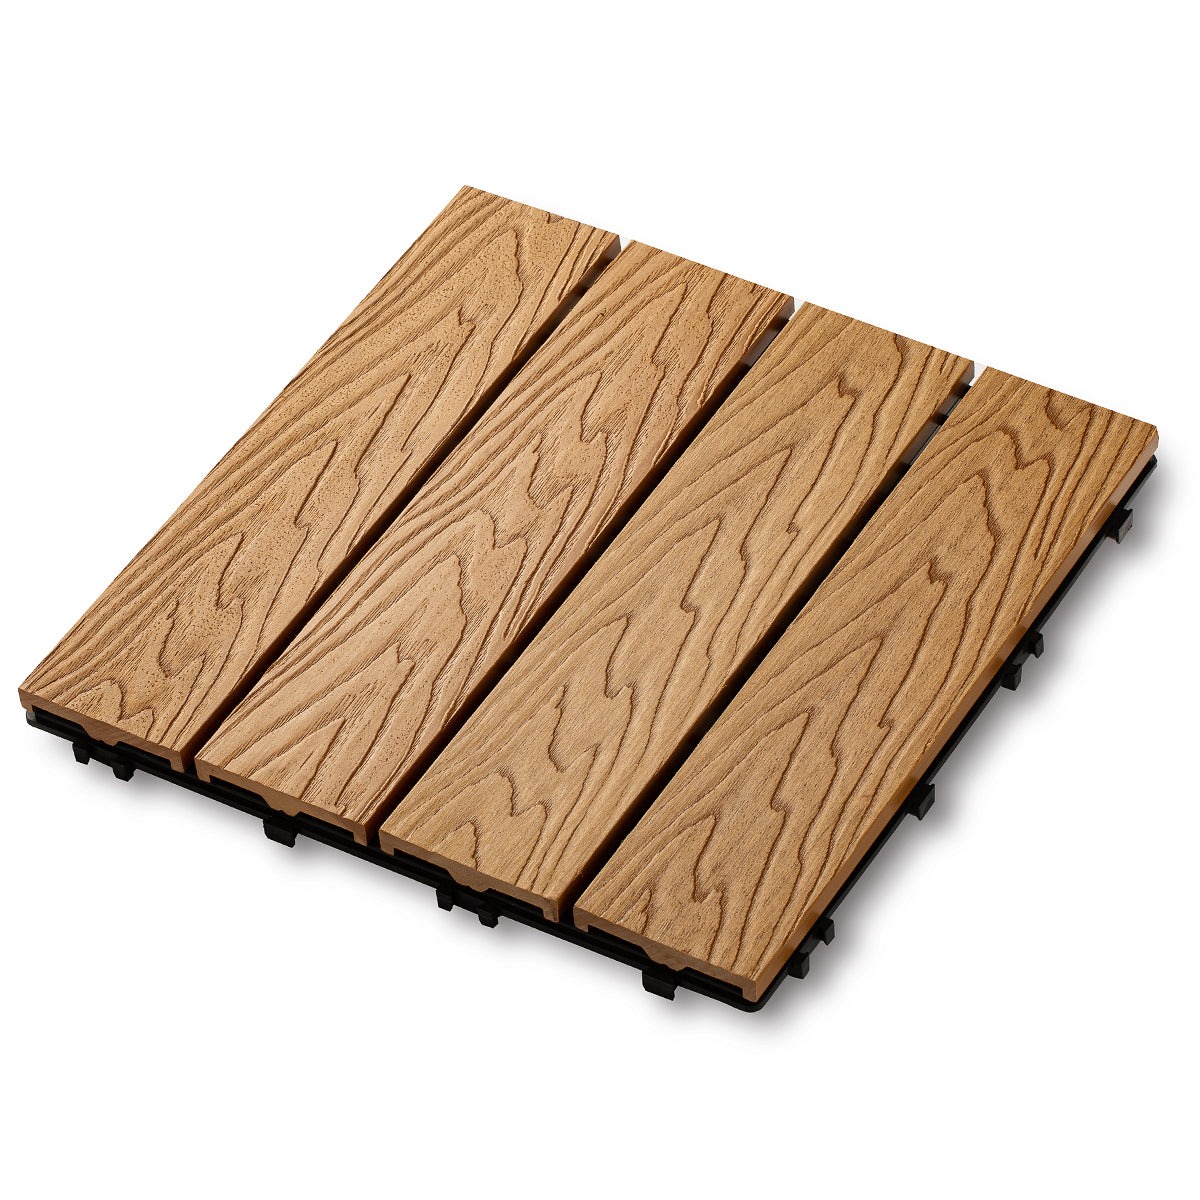
Composite decking tiles are square or rectangular boards produced by a blend of wood fibers and plastic waste. The result is a product that has the appearance of genuine wood yet with much better durability, weather resistance, and low upkeep. Unlike natural wood decking, composite tiles will not rot, warp, splinter, or need frequent staining and sealing.
These tiles usually have a plastic base incorporated into them with an interlocking design. This helps to enable tool-free installation whereby each tile simply clicks together with the other tiles, forming a level and stable surface.
Why Choose Composite Over Wooden Decking Tiles?
Both composite decking tiles and wood decking tiles have their advantages. Wooden decking tiles provide a natural appearance and warmth, perfect for establishing a rustic or traditional garden look. They also need to be sealed, oiled, and subjected to additional upkeep in order to remain in prime condition, particularly in areas with extreme weather.
Contrary to real wood, composite decking tiles never fade in color nor lose their texture. They are resistant to moisture, UV radiation, and mold perfect for busy, all-season usage. For those who want an easy, low-maintenance option with a sleek appearance, composite tends to be the way to go.
Advantages of DIY Composite Decking Tiles
1. No Tools, No Fuss
Maybe the greatest benefit of interlocking deck tiles is how extremely easy they are to install. You won’t require drills, nails, adhesives, or a professional. The click-and-lock mechanism permits you to place tiles in minutes. Just install the initial tile at a corner and then progress across the surface, snapping each one in place.
2. Ideal for Renters and Short-Term Use
Because the tiles are not installed permanently, they can simply be taken out, moved, or installed somewhere else. That makes deck tiles perfectly suitable for tenants or individuals who want to make temporary upgrades for parties or holiday decorations.
3. Custom Designs
Due to their modular design, composite decking tiles can be installed in various designs: checkerboard, diagonal, or linear arrangements are all feasible. Some do-it-yourselfers even pair wooden decking tiles with composites to achieve distinctive visual contrasts.
4. Low Maintenance
Composite Decking Tiles require very little upkeep. Occasional sweeping and a wash with soapy water are usually enough to keep them looking new. Unlike wood, there’s no need for staining, sealing, or worrying about splinters.
5. Weather and UV Resistance
Composite materials are designed to last. Rain, snow, and sun won’t damage these tiles in the same way that they would natural wood. Anti-slip surfaces are also available from many brands, making them safer for wet surfaces such as poolside or garden paths.
Where Can You Use DIY Decking Tiles?
DIY decking tiles can be used on nearly any level surface. Some of the most common areas of use are:
- Apartment Balconies: Quickly add style and comfort to compact city balconies.
- Concrete Patios: Top off drab or cracked concrete with stylish, textured tiles.
- Rooftop Terraces: Enjoy a chic rooftop oasis with sun- and rain-resistant composite tiles.
- Garden Paths: Plan walkways through grass or gravel without making permanent changes.
- Poolside Areas: Non-slip composite decking tiles are perfect for wet areas.
Step-by-Step Guide to Installing Composite Decking Tiles
Step 1: Prepare the Surface
Be certain your current surface (concrete, tiles, or gravel) is level, firm, and clean. Clear it of debris, moss, or dust.
Step 2: Plot the Layout
Take measurements of your space and map your design. A dry run (placing tiles in position without snapping them together) avoids alignment errors.
Step 3: Begin Snapping
Start at a corner and install tiles individually, clicking each into position with the interlocking edges. You’ll know they’re in correctly when you hear a “click.”
Step 4: Trim Tiles to Fit (If Necessary)
For edges or corners, you may need to cut some tiles. Use a handsaw or a jigsaw with a fine-tooth blade. Always double-check your measurements before cutting.
Step 5: Add Finishing Touches
A few companies also provide edging or trim pieces for a finished appearance. These snap in place just like the tiles themselves.
Maintenance Tips for Durable Decking
- Sweep Frequently: Remove debris and dirt from the surface to avoid staining.
- Clean Seasonally: Use a gentle soap and water solution with a soft bristle brush for shine preservation.
- Avoid Harsh Chemicals: Avoid strong cleaners that can deteriorate the surface or cause colors to be bleached.
DIY composite decking tiles offer an unbeatable combination of style, simplicity, and durability. Whether you’re sprucing up a tired patio or creating a cozy balcony retreat, these tiles provide an effortless way to achieve a professional-looking finish without professional help. Read This
With interlocking deck tiles, composite decking tiles, and wooden decking tiles among many other design options, you can create the ideal combination for your outdoor look. Couple all that with the speedy installation and minimal maintenance, and it’s no wonder more homeowners and renters are opting for decking tiles for their outdoor remodels.